Wednesday, March 30, 2011

No Bake Brownie Bites

Recently, we have tried to take our healthiness to a new level
by eating clean, organic meals and by starting to train for a 
half marathon in the fall.

Eating clean, organic meals does not mean no restaurant food,
no sweets, and no salts.

It's about finding alternatives to those bad foods-- 
by doing restaurant re-do's of recipes you love
or using medjool dates (so yummy) instead of grain sugar.

It's not easy, but we can promise you that you'll feel better and more energetic throughout the day.

Here is a recipe that is super easy and fast to make (less than 10 minutes!)
and should satisfy your chocolate cravings. 

Oh, and did we mention healthy? Yes, chocolate can be healthy!

Lastly, we are sure some of you a grumbling about price.
Myth: organic food is NOT pricey if you plan your recipes right. 

Enjoy!

Ingredients:
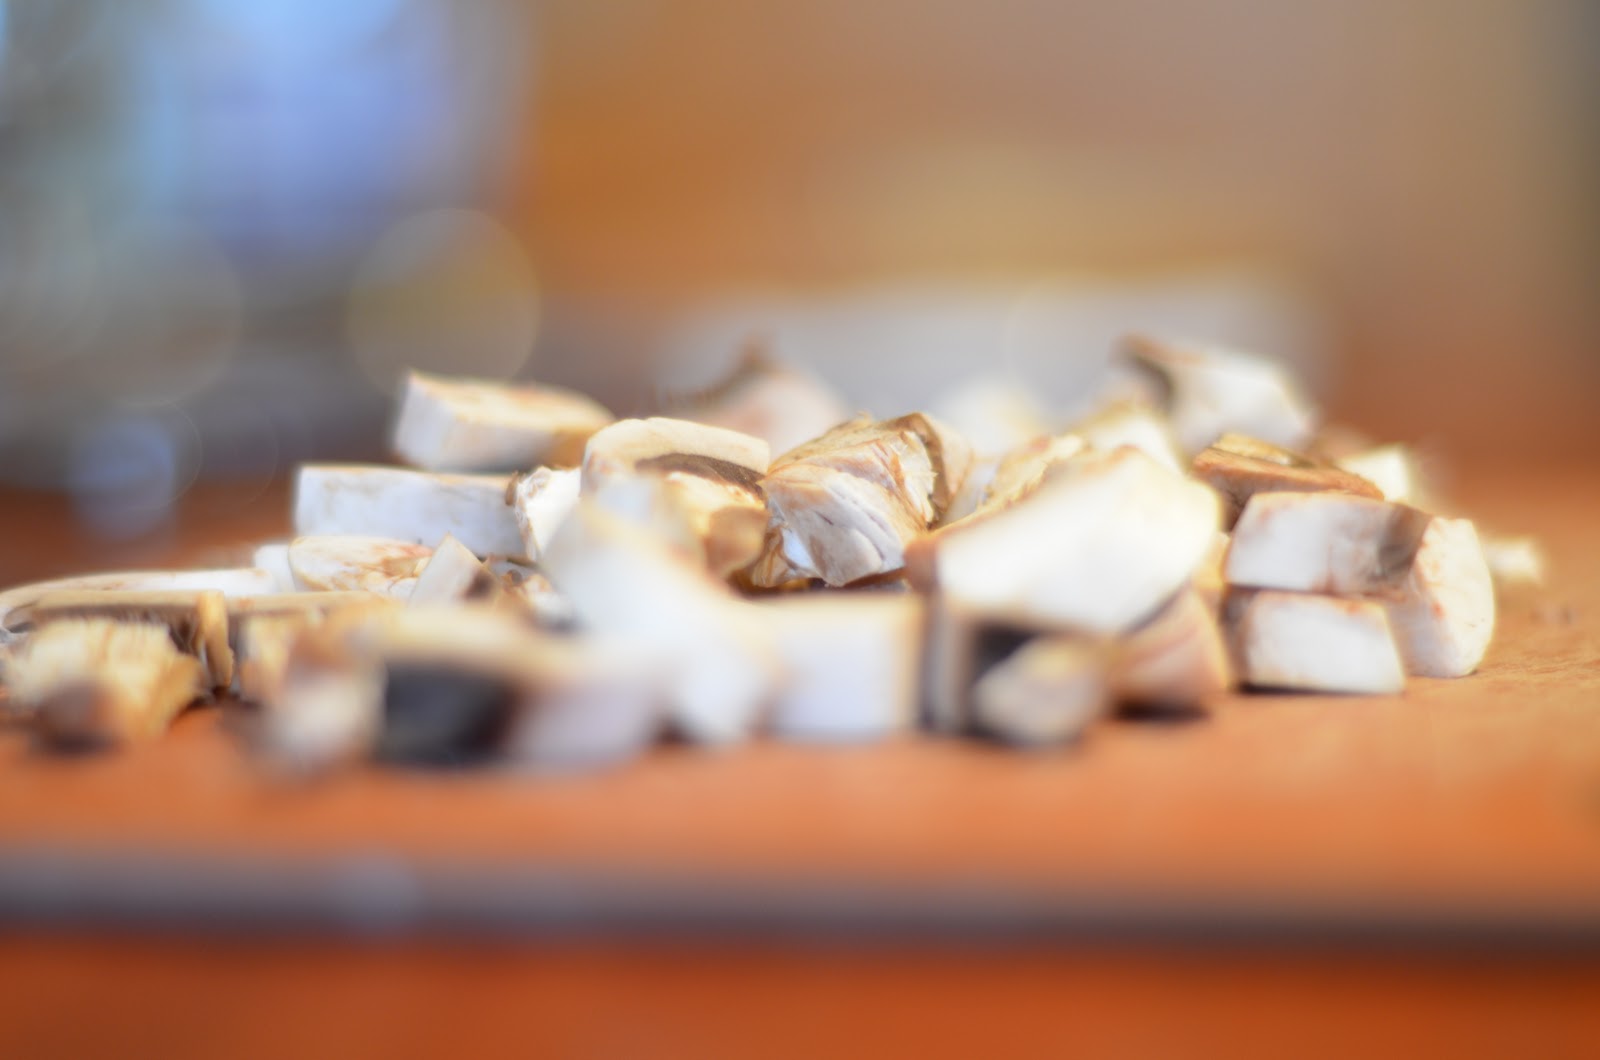
12 medjool dates, pitted
3 tbsp. cacao powder
1/4 cup chocolate chips (organic!)
2 tbsp. ground flaxseed (can be substituted for spirulina if you want an immune system boost!)
1/2 cup walnuts


Take 12 medjool dates and remove the pits (just slice down the center the long way). Place the dates in a blender with all the other ingredients. Blend until fully mixed together.

Scoop out the chocolate mixture and roll into balls. Place them in the refrigerator for at least 5 minutes and then eat! Last for over a week and they are definitely a filling, healthy snack!

Nutritional stats:
1 ball = 125 calories
Flaxseed: helps lower cholesterol, protects against heart disease, helps blood circulation, and controls high blood pressure
Medjool Dates: rich in nutrients, good energy booster, low in calories, have high potassium and low sodium....and they still taste sweet!


Happy Eating!


Food creds: adapted from healthfulpursuit

Tuesday, March 29, 2011

Santa Fe Wrap

This recipe is for those of you that are busy,
but want to stay healthy.

The Santa Fe Wrap
is filled with black beans, chicken, corn, peppers, onions, and salsa.

A perfect meal for those of us who didn't get to go somewhere south for Spring Break.


Ingredients:
1 can black beans
1 cup frozen yellow corn
1/2 green pepper
1/4 onion
1/2 cup low fat greek yogurt
1 chicken breast
1/2 cup salsa
Tortillas
Shredded cheddar cheese (optional)
Lettuce (optional)

First, boil water. While water is boiling, cut the chicken breast into bite size pieces. Heat a pan with olive oil on medium to high heat and cook the chicken pieces (should only take approximately 7 minutes total - so about 3.5 minutes each side). While the chicken is cooking, dice the green pepper and onions.

Once the water is boiling, add the frozen corn (cooking corn should only take about 2-4 minutes).

Once the chicken is done cooking, place into a large mixing bowl. Next, cook the green pepper and onions on the stove with olive oil until slightly brown. Place these in the large mixing bowl with the chicken. Add the cooked corn, too.

Drain the can of black beans and heat in the microwave for 2 minutes and then add to the mixing bowl.

Next, add low fat greek yogurt and salsa to the mixing bowl. Mix all the ingredients together. Warm up a tortilla and place chicken and bean filling on the center. Add cheese and lettuce if desired, roll up, and enjoy!

Save left overs in the fridge for a quick, easy meal tomorrow!

Happy Eating!

Food Creds: Adapted from busygirlhealthylife.

Thursday, March 24, 2011

Pesto & Turkey Sandwich

The sandwich is named after John Montagu,
the 4th Earl of Sandwich,
who would often order two slices of bread with meat
while he was gambling.

Since then, sandwiches have become a classic American lunch
and have emerged in countless variations and varieties.

The Pesto & Turkey Sandwich
is another staple American sandwich
and the light sandwich meat + green pesto
reminds me of summer.

Much more satisfying than the old PB&J,
this recipe is easy, quick, and budget-friendly!!


Ingredients:
Pesto
2 Slices of Bread
Turkey
Unsalted butter
1 slice of provolone cheese


Place a pan on med-low heat. Lightly butter two slices of bread on each side. On one of the slices layer on pesto (as much as desired). Place the slice of bread with the pesto on the pan, butter side down/pesto side up. Note that butter makes the bread brown faster so quickly add provolone and turkey. Let cheese warm up/begin to melt before adding top piece of bread and flipping (if smoke starts coming from the bottom of the bread, it is probably burnt). Take sandwich off of the pan and enjoy while still warm!

Happy Eating!


Food Creds: K's friends, Carly & Kimberly!

Wednesday, March 23, 2011

Best Chocolate Sheet Cake

Eating healthy does not mean never indulging in 
some sweet favorites.
Just make sure to not eat sweets everyday
and when deciding to eat something sweet,
make sure it is something you absolutely crave
(this helps cut back on the amount of sweet cravings, surprisingly).

What we craved today was chocolate,
more specifically,

The Best Chocolate Sheet Cake.

Definitely not healthy, but super yummy.
(Although healthier than boxed cake!)

Indulge in a chocolate-y moment with this delicious recipe!


Ingredients:
2 sticks unsalted butter
1 cup boiling water
4 tbsp. finely ground chocolate (or just use cocoa powder)
2 cups flour
2 cups sugar
1/4 tsp. salt
1/2 cup buttermilk
2 eggs
1 tsp. vanilla extract
1 tsp. baking soda


In a bowl, mix two cups of flour, 2 cups of sugar, and 1/4 tsp. salt. Stir and set aside.


Place a cooking pot on the oven (medium to low heat) and melt the two sticks of unsalted butter. Boil 1 cup of water while the butter is melting. Add 4 tbsp. finely ground chocolate to the melting butter and stir. Add the 1 cup boiling water to the chocolate and butter mixture. Let the mixture bubble for about 30 seconds and then take off heat.

Pour the hot chocolate/butter mixture into the flour mixture. Stir together lightly (the ingredients do not need to be completely stirred together, just enough to lower the temperature of the chocolate).

In another bowl, add 1/2 cup buttermilk, 1 tsp. vanilla extract, and 1 tsp. baking soda. Stir and add to the flour/chocolate mixture. Make sure all the ingredients are well stirred.

In a butters or sprayed baking sheet, add the mixture. Bake for about 30-35 minutes (may be different depending on the pan).

We did not make homemade chocolate frosting as I have yet to find a recipe truly chocolate frosting blog worthy. If you have one, please let me know!

No buttermilk? Mix a little under a 1/2 cup regular milk. Use regular vinegar to bring the quantity up to 1/2 cup, mix, and let sit while melting the chocolate.

Happy Eating!


Food Creds: Pioneer Woman

Tuesday, March 22, 2011

Tomato, Mozzarella, and Balsamic Vinaigrette Pasta

Although recently it has seemed that summer is just around the corner,
we still get cold, rainy days (like today) that
call for warm, comfort food.

Tomato, Mozzarella, and Balsamic Vinaigrette Pasta
combines that warm, comfort feeling
with a little hint of summer.

Yummy, fast, and easy to eat as cold pasta salad days after making,
this recipe is one of our favorites.

Next time recipe suggestions: I have made this recipe before. This time, I cut up the mozzarella, but the first time I made it, I ripped up the mozzarella. Conclusion - rip up the mozzarella. The heat from the pasta makes the ripped mozzarella more gooey and stringy. So much more yummy. I also used pico de gallo instead of tomatoes the first time, which also turned out well. It had a little extra kick, but the ripe tomatoes give a fresher feel.


Ingredients:
Baby red tomatoes
Bow tie Pasta
Fresh mozzarella balls
Balsamic Vinaigrette
Fresh Basil (optional)


Before we begin with the cooking steps, we would like to make a confession - we did not use homemade balsamic vinaigrette dressing. However, balsamic vinaigrette dressing is super easy, cheap, and fast to make. At the end of this recipe, we will give the recipe to make this dressing in case you want to try it. Go ahead. Tell us how it turns out!

First, boil water and add a little salt. While the water is boiling, cut up baby red tomatoes and mozzarella (or save the mozzarella to rip up later!). We used a little bit less the a pint of the tomatoes.


Once water is at a roaring boil, add the pasta. Make sure to stir a few times throughout the noodles' cooking because they tend to clump together.

Drain the noodles and put in a bowl. Immediately add the mozzarella cheese so the heat can begin to melt (fresh mozzarella won't get as melted as packaged shredded cheese - but no worries, melted fresh mozzarella is so much more delicious). Add the cut up baby red tomatoes and stir. Finally, add the balsamic vinaigrette dressing. The dressing can be heated in the microwave for about 8 seconds prior to adding to the pasta or just added cold. It's all preference.


Balsamic Vinaigrette Dressing Ingredients:
(courtesy of the foodnetwork + my own intuition)


1/4 cup balsamic vinegar
2 tsp. brown sugar (optional)
1 tbsp. chopped garlic
1/2 tsp. salt
1/2 tsp. finely chopped black pepper
3/4 cup olive oil
1 tsp chopped basil (optional)


Mix vinegar, salt, sugar pepper, basil, and garlic in a bowl. Beat until sugar and salt dissolve. Next, add the oil, beating constantly (or shake in a tupperware container) for about 15 seconds. Taste and adjust seasonings to your preference...and you're done! So fast and easy.

Happy Eating!

Sunday, March 20, 2011

Taco Mac & Cheese

A mod podge of two childhood favorites: tacos and mac & cheese.

Need we say more?

Although not the healthiest thing
(however, definitely healthier than hamburger helper or hot pockets),

Taco Mac & Cheese

is super fast to make, filling, and delicious,
regardless of it's lack of visual aesthetics. 


Ingredients:
1 chicken breast
1/2 cup sour cream
3 oz. low fat cream cheese
4 tbs. taco seasoning
Shredded mozzarella cheese
4 oz. rotini noodles
1/4 diced yellow onion
1 cup canned diced tomatoes


Begin by boiling water and adding noodles.


While water is heating up, heat a pan with some olive oil on the stove (heat at approximately between high and medium), and place both chicken breasts on the stove for about 10-12 minutes (5-6 minutes each side). Make sure to check that the chicken is cooked through.


Once chicken is cooked, cut it up into bit size pieces. In another pan (or rinse of the one used for the chicken), place the cut up chicken, diced yellow onion, and drained diced tomatoes. Cook and stir for about a minute, then add sour cream, cream cheese, and taco seasoning. Continue to stir and mix until sauce thickens and cream cheese has melted. 


Add the sauce, veggies, and chicken to the drained noodles. Top with shredded mozzarella and eat!


Happy eating!
Food Creds: Annie's Eats

Saturday, March 19, 2011

Mushroom & Spinach Quesadilla

Want a quick and tasty recipe that is not ramen noodles?
Then this is your recipe.
Tasty and healthy, this

Mushroom & Spinach Quesadilla 

is quick, easy, and usually consists of ingredients you already have.
Also, it is an awesome recipe to make if you are trying to
get rid of any remaining veggies before they expire.


Ingredients:
Chicken breast
Tortilla
Shredded mozzarella cheese
Spinach
1 clove garlic
1 small shallot
Chopped baby bella mushrooms
1 tsp. of each: chili powder, oregano, & cumin
Olive oil
Baby red tomatoes (optional)
Sour cream & salsa (optional)


Heat a pan with some olive oil on the stove (heat at approximately between high and medium), and place both chicken breasts on the stove for about 10 minutes (five minutes each side). Make sure to check that the chicken is cooked through.


While cooking chicken: in a frying pan with olive oil, add chopped mushrooms, garlic, and shallot. Stir and cook until mushrooms begin to change color. Add spices and continue to cook until the mushrooms are not rubbery.


Once the chicken is cooked, take it off the stove and cut into strips.


Heat another frying pan on low heat with a little bit of olive oil. Place a tortilla in the pan - making sure to flip it over so both sides become a little crispier (make sure not to burn!) On half of the tortilla, place the mushroom mixture. Next, add some chicken. On top of the chicken, add some spinach leaves (tomatoes or any other veggies you want) and then cheese. Although the order of the veggies and chicken does not matter, make sure the cheese is added last; this seals the inside of the quesadilla with the tortilla.


Fold the tortilla in half and flip until the cheese melts. Take of the stove and enjoy!


Happy Eating!


Food Creds: Adapted from foodnetwork.

Sunday, March 13, 2011

Banana Waffles

Normally, my breakfast consists of a banana.
So when I saw I could have 
banana waffles 
instead, I immediately needed to make them.

These also taste good cold and are easy to munch on
when walking to class. 
Not to mention much more filling than a banana.

I made circus shaped waffles.

Next time recipe suggestions: Although these were yummy, I thought the banana taste was a little too faint. 
Maybe next time I'll use an additional mashed half banana.


Ingredients:
1 tbsp. unsalted butter (melted)
1 cup milk
1 mashed banana
2 eggs
1 1/2 cups flour
1/2 tsp. vanilla extract
1/4 tsp. salt
3 tbsp. sugar
2 tsp. baking powder


Mix the melted butter and mashed banana in a bowl. In a separate bowl, mix all the other ingredients. Add the butter and mashed banana mixture to the other ingredients and stir. If you feel that the mixture is a bit too thick (this happened to me), add a little bit of milk to thin it out (however, you do not want the waffle mixture runny).


Heat the waffle iron and spray with a cooking or baking spray. Put waffle mixture in waffle iron and cook the waffles for 2 minutes.


Eat plan or top with whipped cream, syrup, peanut butter, or sliced bananas.


Note: this recipe can also be used for banana pancakes.


Happy Eating!


Waffle Iron: Bella Cucina Circus Waffle Maker


Food Creds: Adapted from allrecipes and Annie's eats.


Thursday, March 10, 2011

Chicken and Artichokes in a White Wine Sauce

Recently turning twenty-one, 
I really wanted to make a recipe calling for some sort of wine or liquor, 
and inspired by a recipe I made over thanksgiving (recipe to come soon),
I decided we should cook this:

Chicken and Artichokes in a White Wine Sauce.

A collaboration of a few recipes (i.e. Annie's Eats) and a mixture of our own intuition, 
here is a savory and healthy meal
that can hopefully fit into your college budget.

Remember: the recipe we have here is for two people, but the amount of veggies really doesn't matter.


Ingredients:
4 oz baby bella mushrooms 
1 can quartered artichoke hearts
1tbs unsalted butter
2 chicken breasts
1 cup flour
1 teaspoon and a half of each: oregano, thyme, parsley, basil and salt & pepper.
1 1/4 cup chicken broth
1 1/4 cup dry white wine (we used Sauvignon-Blanc) 
Olive Oil
Rice (optional)


If you decide to place the chicken over rice, make sure you start the rice cooker first.


In a bowl, mix the 1 cup of flour and spices (save about 1 tbs of this mixture for later). Take each chicken breast and coat with the flour and spice mixture. Heat a pan with some olive oil on the stove (heat at approximately between high and medium), and place both chicken breasts on the stove for about 10 minutes (five minutes each side). Make sure to check that the chicken is cooked through. Take the chicken off the stove and set to the side (we will re-heat later).


Next, place butter in another pan with chopped mushrooms and artichoke hearts (heat at about medium heat). In a bowl, mix the chicken broth, white wine, and the 1 tbs of flour mixture - this is the sauce mixture. Wait until the mushrooms and artichoke hearts have softened and then add the sauce mixture. We added a bit more spices here, but not much. Once the sauce mixture has thickened a little, add the chicken, making sure the chicken gets coated with the sauce. The sauce will continue to thicken and once you feel it is at the consistency you want - do a little taste test (add more spices if needed).


Finally, place the rice on a place and put the chicken and veggies on top. Make sure to scoop up any extra sauce and add!


Happy eating!


Purpose of College Kitchen

Although we are lovers of all restaurants and take-out, we decided 
(after much nagging from my mother),
to learn to cook healthy meals.
However, being college students we face two problems:
budget and time.
How are we supposed to find the time to cook healthy,
when we need to be studying?
And how are we supposed to afford and use all of the ingredients we buy before they go bad?
Because let's face it, 
fresh produce is expensive 
and it is difficult to find tasty meals that use the same 
fresh ingredients before they expire.
So as this blog emerges we hope to publish inexpensive, healthy meals
for college (and non-college) students and as the recipe index grows, we also 
would like to make some sample grocery lists with corresponding recipes so
you can save time and money.

Happy eating!